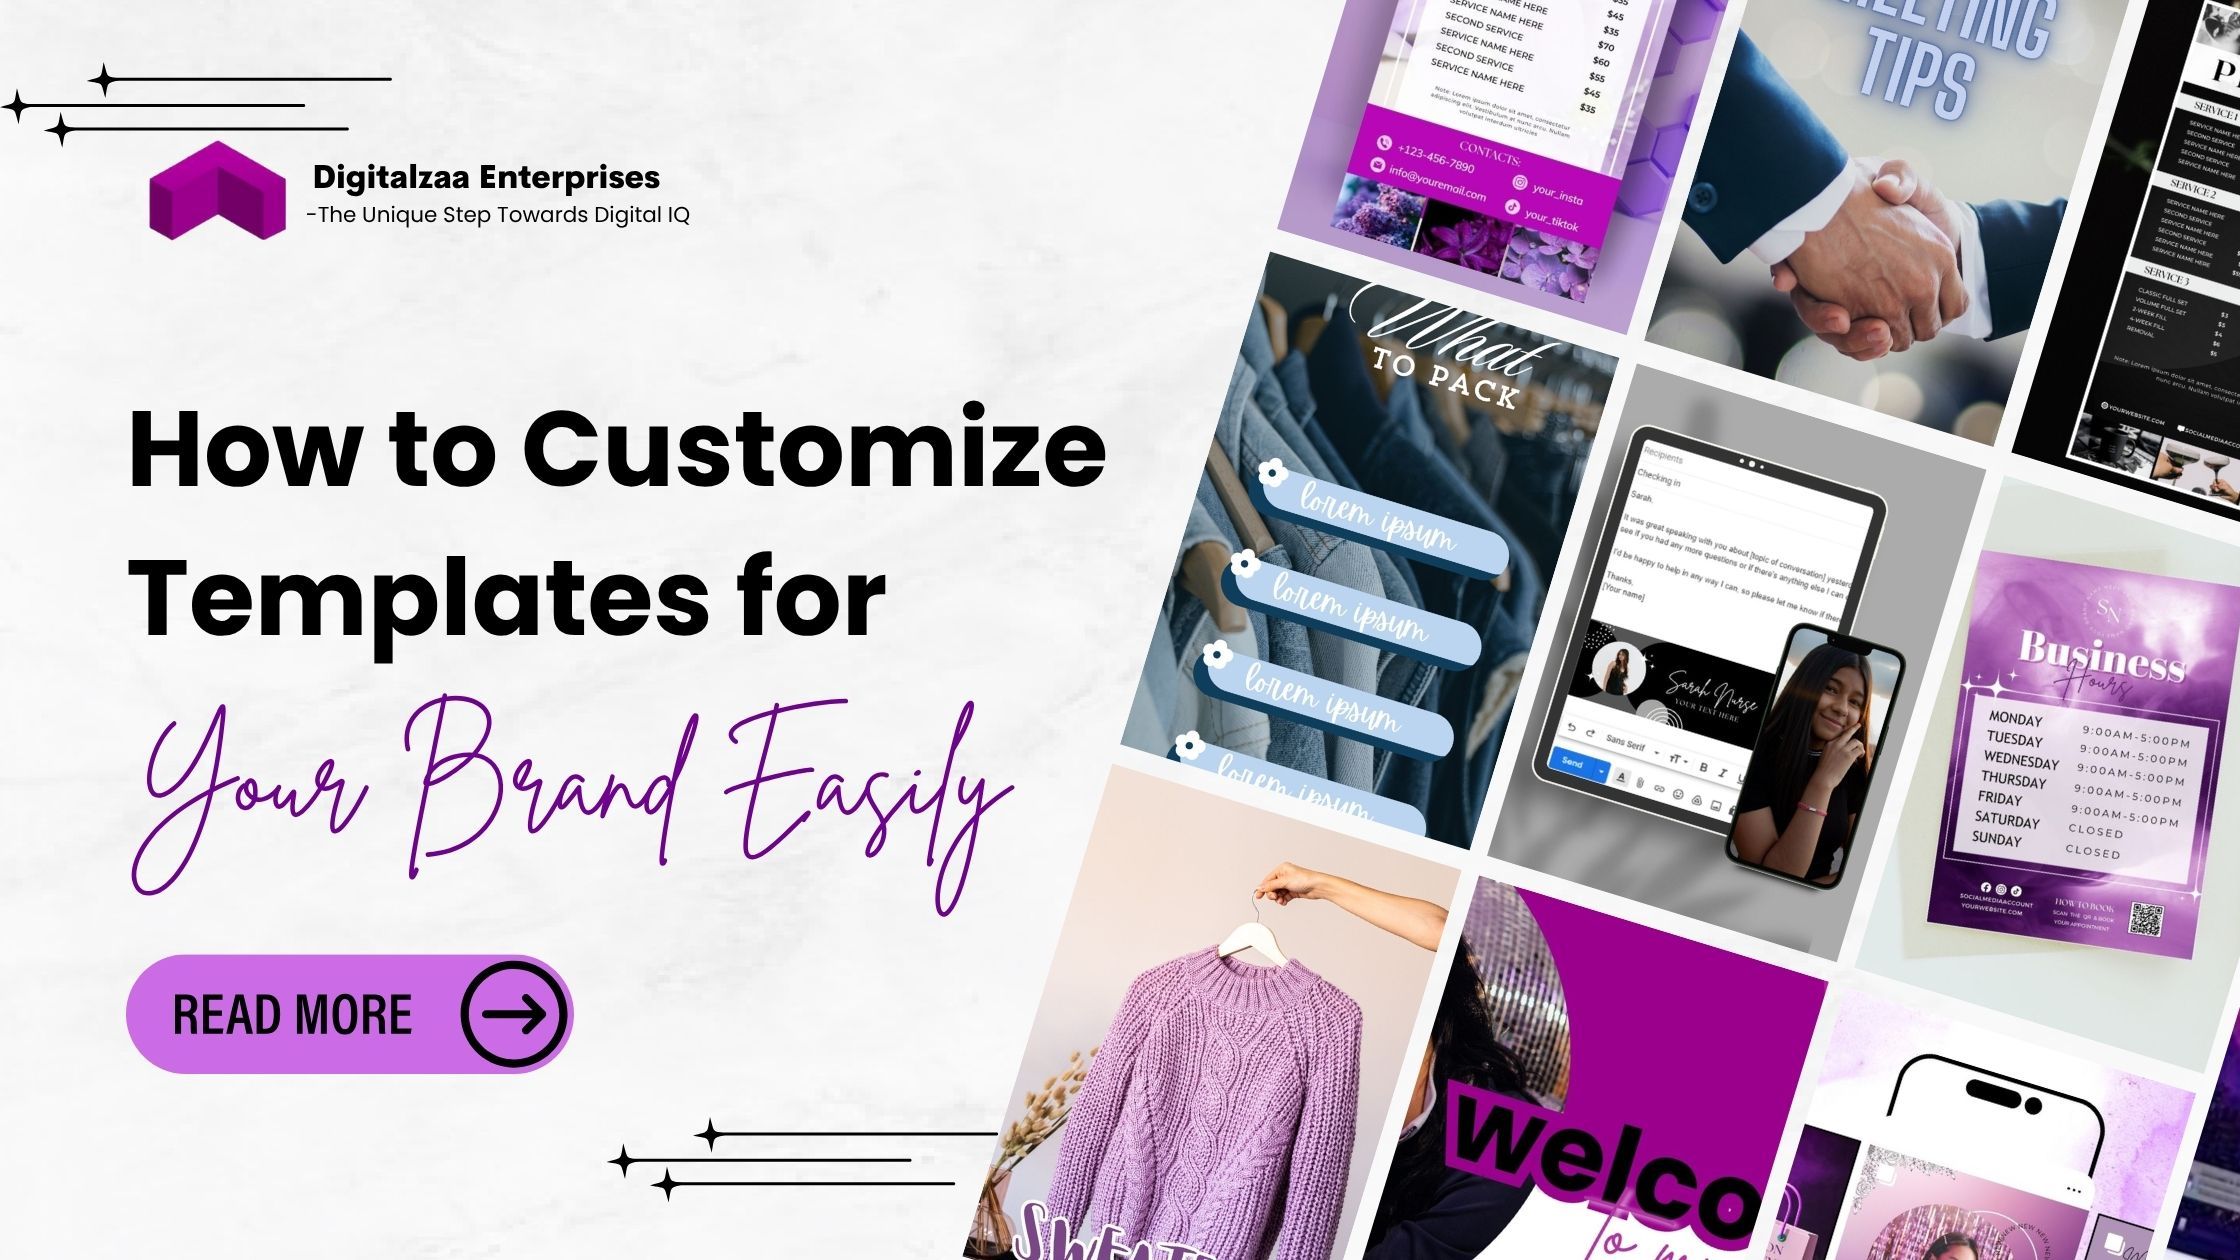
How to Customize Templates for Your Brand Easily.
In the fast-paced content creation and branding world, templates have become an essential tool for businesses, entrepreneurs, and creatives. Whether you're a coach designing lead magnets, a small business owner building your Instagram presence, or a content creator managing your email newsletters, templates save time and keep your visual identity consistent. But what truly makes a brand stand out is the ability to customize templates to align with your unique style and message.
In this blog post, you'll learn how to customize templates for your brand easily, what to look for in a template, and practical template customization tips to make the process seamless. Plus, we’ll explore how Canva template customization can be a game-changer for non-designers who want polished, branded content fast.
Why You Should Customize Templates Instead of Using Them As-Is
The purpose of templates is to serve as a starting point rather than the finished output. While ready-made templates offer convenience, using them without customization can make your content blend in rather than stand out.
Here’s why customizing templates is worth your time:
- Brand Consistency: Customizing ensures every piece of content looks and feels like your brand.
- Authenticity: It prevents your brand from appearing generic or identical to others using the same designs.
- Professionalism: Well-edited brand templates create a cohesive visual experience for your audience.
- Efficiency: Future material may be replicated more quickly once a template has been customised to your brand.
Step-by-Step Guide to Customizing Templates for Your Brand
Step 1: Define Your Brand Identity
Before you even open Canva or Photoshop, clarity on your brand’s identity is key. Ask yourself:
- What are my brand colors?
- What fonts do I consistently use?
- What’s my brand voice or tone: modern, fun, elegant, minimal?
- What emotions do I want my visuals to evoke?
Having a brand style guide or visual identity document will speed up your template customization process.
Step 2:Select Templates That Complement the Look of Your Brand
Not all templates are created equal. Select brand templates that align with your niche, audience, and design preferences.
Template customization tip: Choose templates with minimal distractions. Simpler designs are easier to tailor to your brand.
- “Minimal Instagram post”
- “Elegant newsletter template”
- “Modern business presentation”
This helps you avoid overly trendy or cluttered templates that don't match your brand.
Step 3: Start with Canva Template Customization
Canva template customization is ideal for non-designers. Here is a basic Canva workflow that you may use:
- Apply Your Brand Kit: If you have a Canva Pro account, use the Brand Kit feature to set your fonts, colors, and logos. This saves a huge amount of time every time you edit a new template.
- Replace Default Text and Images: Update the text to reflect your brand tone and message. Swap out stock images for brand photos, product images, or UGC (user-generated content).
- Adjust Layout If Needed: Don’t be afraid to move things around! Drag and drop elements to create more space, shift emphasis, or better suit your content.
- Save As a Custom Template: Once you’ve fully customized a template, save it as your brand template. You can reuse it and adapt it for future campaigns, saving hours of work.
Step 4: Customize Templates for Different Platforms
Your brand likely exists across multiple touchpoints, including Instagram, email, LinkedIn, print, and more. The size and appearance criteria vary each platform. Here's how to keep your branding consistent while customizing templates for each one:
Use vertical and square templates. Include your logo or brand watermark subtly. Prioritize scroll-stopping headlines and bold visuals.
- Email Newsletters
Choose clean templates with a clear hierarchy. To keep your brand readable, use it sparingly. Keep mobile responsiveness in mind.
- Presentations
Customize templates for pitch decks or webinars with your fonts and brand imagery. For a finished appearance, maintain consistency throughout all of your slides.
Opt for tall, bold graphics. Overlay your website or Instagram handle on the bottom for visibility.
Common Mistakes to Avoid When Customizing Templates
While it’s easy to drag and drop elements in Canva or other tools, there are some pitfalls to watch out for:
- Too Many Fonts: Use no more than two or three fonts: one for headings, one for body text, and an accent font if you want to.
- Ignoring Space and Alignment: Leaving enough space between words makes your writing look good and is easier to read.
- Clashing Colors: Use your brand palette. Don't use neon or haphazard colours that make your point less clear.
- Forgetting Mobile Optimization: Especially for social media and email templates, make sure your designs are legible on smaller screens.
Template Customization Tips for Maximum Efficiency

Here are a few expert hacks to help you customize templates faster without sacrificing quality:
- Batch customize: Edit 5–10 posts at once using one core brand layout. This works great for Instagram or scrolling posts.
- Create content themes: Assign different templates to different content types (e.g., testimonials, tips, promotions).
- Use folders and naming conventions: Keep all customized templates organized by type and platform.
- Duplicate instead of starting fresh: Always work from a duplicated master template to avoid overwriting your original design.
Tools to Make Template Customization Easier
While Canva is the most popular choice, other tools can help you streamline your customization process:
- Canva Pro: Unlocks brand kits, content planner, premium templates, and resizing tools (great for multi-platform use).
- Adobe Express: Great for branded social media designs, especially if you already use Adobe software.
- Figma: Perfect for advanced users who want collaborative editing and more design flexibility.
- Notion: Use templates to plan your content and store customized design links or embed visuals.
Conclusion
Customizing templates is more than a design task; it’s a powerful way to communicate your brand identity consistently and professionally across all platforms. Whether you’re a solo entrepreneur, coach, or part of a larger marketing team, having pre-designed brand templates tailored to your visual identity saves time, boosts brand recognition, and ensures your message is consistent across all of the information you post. With platforms like Canva offering intuitive tools, Canva template customization has become easier than ever, even for non-designers.
By following the template customization tips shared in this guide, from choosing the right layout to applying your fonts, colors, and logos, you can transform any generic design into a brand asset. The goal isn’t just to make things look pretty, but to create content that feels uniquely yours. The more you invest in maintaining brand consistency through customized templates, the more trust, credibility, and connection you’ll build with your audience.
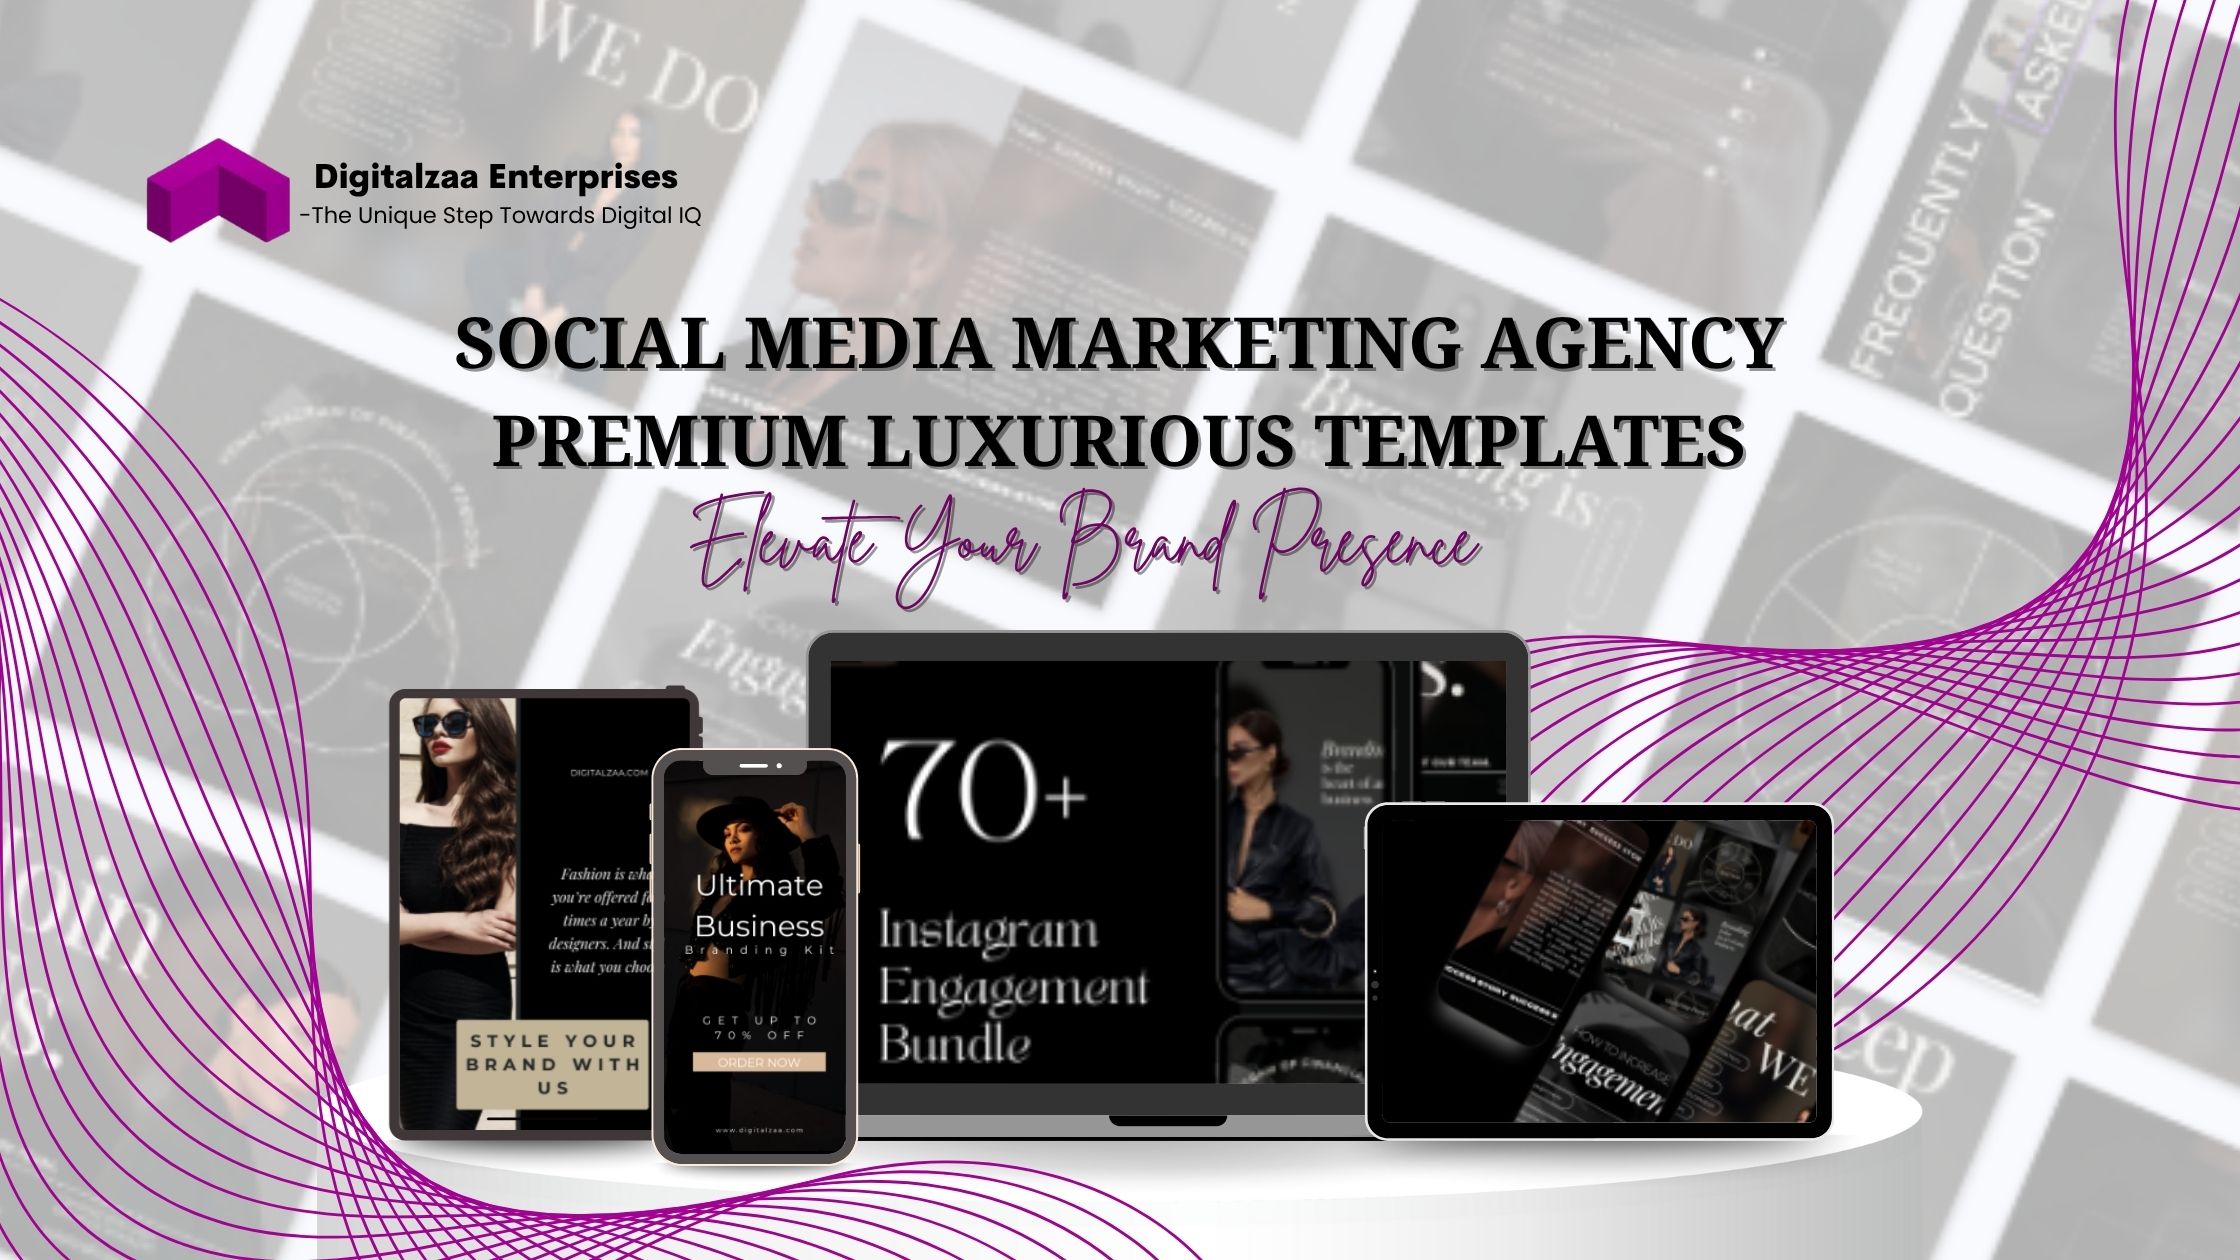
Ready to revolutionize your agency's brand image and save countless design hours? CLICK HERE to get instant access to our complete Social Media Marketing Agency Premium Templates collection!
Author

Disha Rathi
International Author & Founder
Disha Rathi, is the Founder of Digitalzaa Enterprises, Quest Internationals, Marketing Enigma Business Magazine, CEO at Reliserv Solution & International Author. Disha Got Awarded BEST EMERGING WOMAN ENTREPRENEUR of the Year 2022. Disha helps individuals & Businesses to scale their revenue using Online Marketing by adding professional Skills in their mindset to get more Clients/customers. She had mentored multiple Businesses to hit 6-7 figures in revenue using her Brilliant Techniques & her 10+ Years of experience in the Field of Marketing.

